Updated: April 18, 2025
This article will blow your mind. But in a good way. Say you have any number of old computer games, many of which were created in the era of 4:3 monitors and low resolutions. And now, you want to play those titles on a modern computer, which most likely has a 16:9 or 16:10 display, with resolutions many times more than the old games. In a lot of cases, this can create problems.
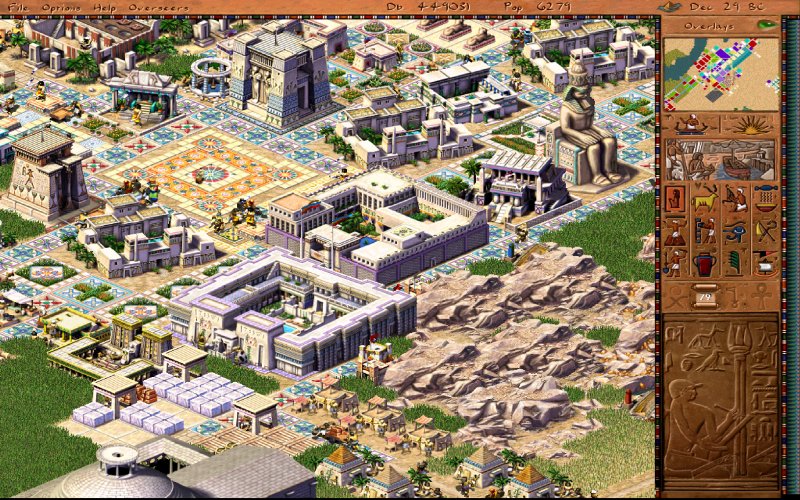
I recently encountered this with Pharaoh. This turn-of-the-century game starts at 640x480 px by default, and can be stretched to a fantastic 1024x768 px. Start it on a computer with a resolution that does not conform to this narrow range, and it most likely won't run at all. But as I showed you in that same article, if you're running a Linux system, with X11 of course, then you can create a virtual screen setup that will accommodate pretty much anything and everything. Native Linux games, WINE games, you name it. Let's.
Nested X session + VNC with scaling
In a nutshell, this is what we want and need. My Pharaoh tutorial has all the details, step by step. Now, I'm going to make them into a general guide that will apply to any title - or even program - you like. You will in fact be able to run multiple games in parallel, each with its own resolution and scaling. You will be able to run each game windowed or fullscreen, and without any Alt+Tab conflicts.
Install prerequisites
My test platform is Kubuntu, hence Ubuntu-based commands:
sudo apt install xserver-xephyr x11vnc tigervnc-viewer
Optional prework: WINE virtual desktop
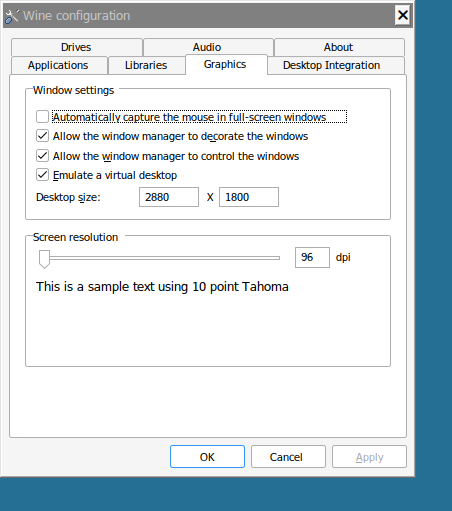
If you want to configure a WINE game, ideally install it in its own prefix. Then, for that prefix run winecfg (in a terminal window), click Graphics, tick Emulate a virtual desktop, and set the size to match your desktop. This also means the game will run in its own desktop space. One more critical detail: MOST old Windows games will require the screen resolution to be set to 96 DPI. If not, they may not run.
For Pharaoh, I used:
WINEPREFIX=~/.wineph wine "pharaoh installer"
WINEPREFIX=~/.wineph winecfg
Start Xephyr with game resolution
Open a terminal window or tab. Create a nested X session that matches your game's native resolution:
Xephyr -once -screen [width]x[height] :1
For example:
Xephyr -once -screen 1024x768 :1
The last part :1 denotes a creation of a new display in your X session. Your default session is :0. If you want to create additional Xephyr sessions, use :2, :3, etc.
Start VNC server with scaling
Open a new terminal window or tab. Create a new VNC server scaled to your desktop resolution. This will allow you to run games in fullscreen mode. You can optionally use something smaller. Your choice, entirely.
x11vnc -localhost -display :1 -scale [desktop width]x[desktop height]:nb -repeat
For example:
x11vnc -localhost -display :1 -scale 2880x1800:nb -repeat
If you want to start multiple servers, you will need to specify the port. By default, it will be 5900.
Start game exported to new display
Open a new terminal window or tab. We will now start a game (or program), but redirect the display output to our Xephyr (:1).
DISPLAY=:1 "path to game executable"
This could be something like:
DISPLAY=:1 /home/dedoimedo/games/my-game.bin
You can run additional games and display them on :2, :3, etc.
Connect to VNC server
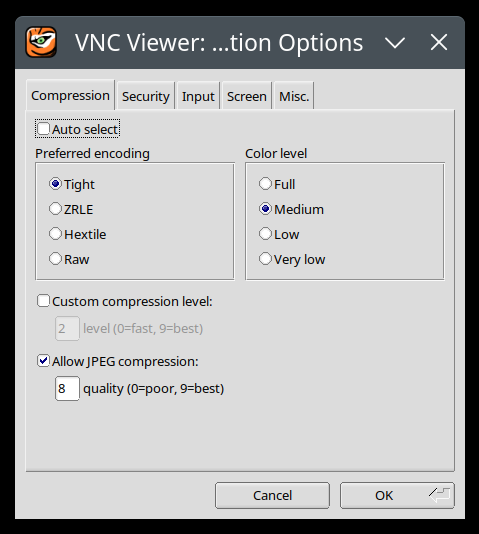
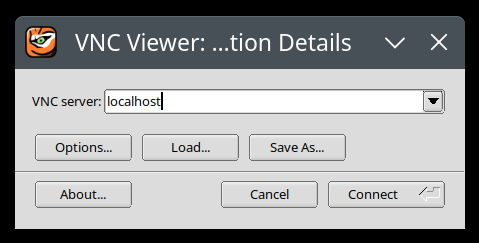
I installed TigerVNC, and its program name is: vncviewer. Open a terminal window or tab. Our fourth and last instance. Start the program, click Options. For me, I got the best compatibility with old games by unticking Auto select, using Tight encoding, and Medium color level (24-bit colors). These seems to offer best results, but you can adjust this per-game.
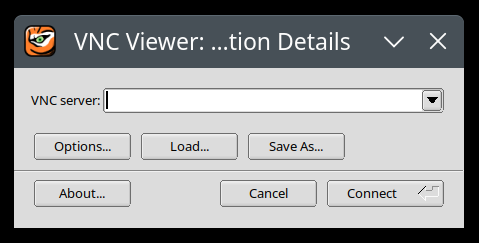
Next, connect to localhost. The viewer will try port 5900 by default. If you have multiple VNC servers running, then each one will require a different port, e.g.: 5903, 5918, whatever. Bear this in mind when you connect. And once you do connect, each Xephyr session will show scaled up to your full desktop resolution, or any other setting you have chosen. Switch to fullscreen mode (via F8 in TigerVNC), and enjoy playing old games.
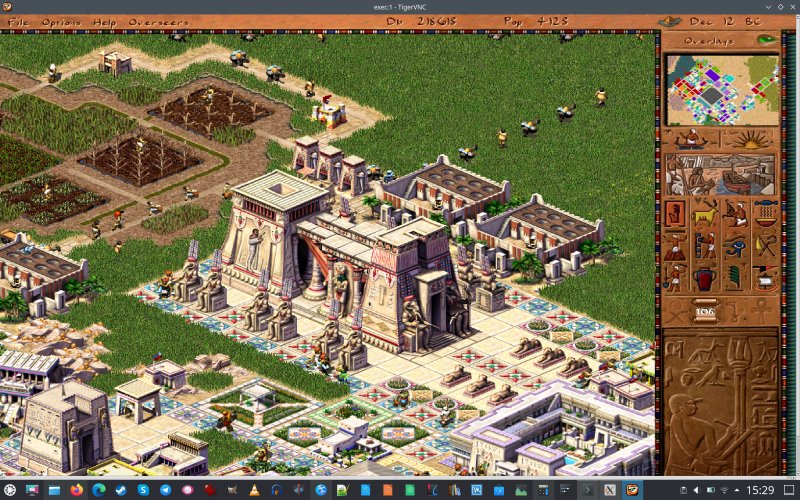
The upscaling is phenomenal. This is 1024x768px resolution stretched to something with 7x more pixels!
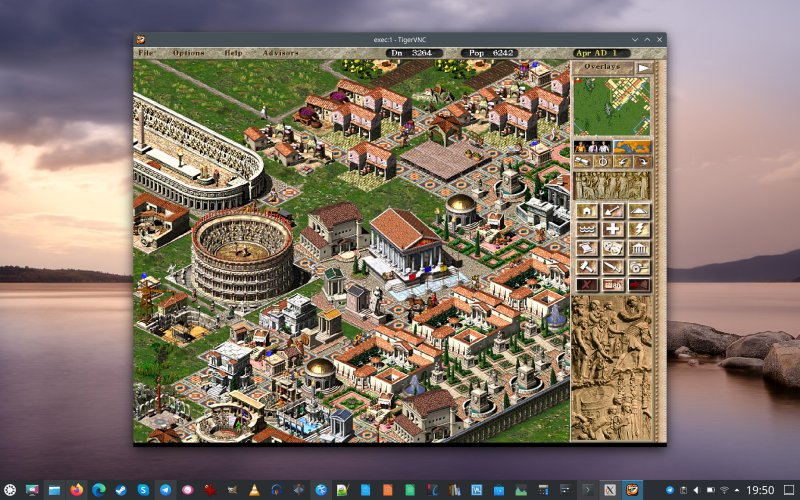
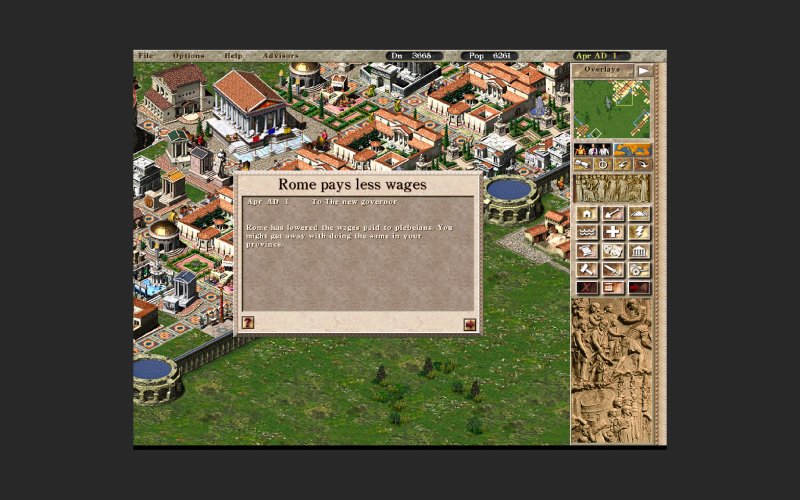
And here's an example of Caesar III running windowed in a 1920x1440px VNC session. When you fullscreen it, there will be empty borders around the game's interface. Very neat. The tiny black bar at the bottom indicates I could probably truncate the height by 40 px or so. Tiny tiny tweaks due to a conversion from 4:3 to 16:10.
And that's it. Bob's your uncle! Of course, you can make your own script and automate all of this! But wait. Not only can you do this with localhost, i.e., your own machine, you can use VNC to connect to remote machines, like other systems in your LAN, and even use SSH with X forwarding to do this. The beauty and immense power of X11. Simply cool.
Conclusion
There you go. This wee tutorial shows you a rather nice trick on how to "fool" games into thinking they are running in their own private desktop space, with resolutions and sizes that match their original resolution abilities. Very neat. I tested this mostly with old titles that do not need fancy 3D acceleration, although WINE can handle that stuff, too. But I tried this on multiple hosts, including 2K, 3K and 4K displays, Intel and Nvidia (PRIME) setups, and everything was cushty. Kubuntu 22.04 and Kubuntu 24.04. Lovely jubbly. And of course, X11. Yes, yes.
Hopefully, you will find this article valuable, and it will help you revive some of your old classics. If there's one reason why X11 should stay around forever, it's exactly this. Without it, we may possibly lose the ability to run super ancient games, and we don't want that to happen. But let me not be pessimistic at the end of a super nice and successful article. We achieved what we wanted. Time to play!
Cheers.